.png)
How to install Grow on your VTEX Legacy store
You can easily install Grow on your VTEX Legacy store through Google Tag Manager configurations.
1. First, you will need to log in your Grow account settings and click on Installation.

2. You will need to click on the Start Installation button to begin with the configurations.
 3. After clicking on the button, you will be led to the Sign in with Google environment. From here, you will need to choose with which account you will continue with.
💡 It is important to use the same Google account as your admin account in Tag Manager.
 4. In this view, you will need to click on the Allow button to proceed.
 5. You will then be led to the VTEX Integration settings. From the GTM account dropdown, you will need to choose the Google Tag Manager account you want to continue with. From this step you can confirm that you Signed in with the correct account in step 5, from the options of the dropdown.
❗ If you cannot find the account you wish, you might have signed in with the wrong account. If so, please go back to step 5.
 6. After selecting the GTM account, a new dropdown will load, where you need to choose the GTM container you want. For more information about the GTM containers, you can view this article.
 7. After both selecting the account and container, click on the Continue button.
 8. From this view, you can review your details and triggers and finally click on Create Tags and Publish button to proceed.

9. Now it's time to use the click class name you copied from your website (from step 2). You can type in the class name in the input box, as shown in the following photo.
 You can add more classes by clicking the Add another click class button.
 10. Finally, you need to click on the Create tag and publish button.
 For confirming that the installation was successful, your final screen view should look like this.

How to see the changes in your Google Tag Manager account
You can easily check for all the changes in your Google Tag Manager container.
On the top of your screen, you will find a banner with a changes counter. If you have any new changes to submit, you can easily click the Submit and then Update now buttons.


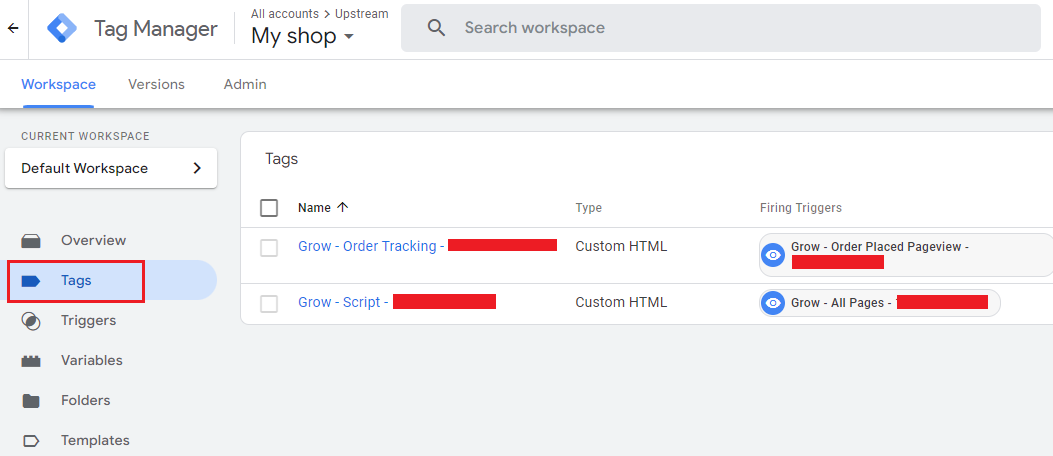
From the Tags tab you can find the created tags.
From the Triggers tab, you can find the created triggers.
